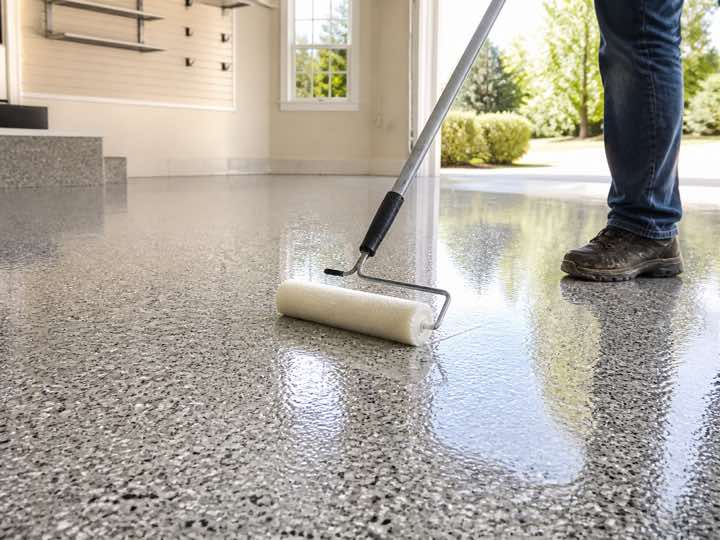
Our standard decorative flake floor is a full-broadcast epoxy and polyaspartic system. Each layer has a job, and the final recommendation always starts with the concrete in front of us.
THE LAYERS
Here is what goes into the floor you see.
01
Inspect the slab
We look at the age of the concrete, existing coatings, cracks, spalls, contamination, moisture risk, edges and how the space will actually be used. This tells us whether the floor needs more repair, a primer, or a different system recommendation.
02
Mechanically diamond grind
Grinding opens the concrete and creates a clean surface profile for adhesion. It is the difference between building onto sound concrete and hoping a coating sticks to whatever was on top before.
03
Repair & detail
Cracks, chips, spalls and transitions are dealt with before the finish goes down. Repair is not an add-on to hide later; it is part of creating a surface that looks intentional when the lights hit it.
04
Prime and build the epoxy base
Where the slab and selected system call for it, we start with a primer. Then a pigmented, high-build epoxy base creates the continuous layer that holds the decorative flake. The base colour is selected to support the final blend.
05
Full broadcast decorative flake
Vinyl flakes are broadcast to refusal for even coverage, depth and texture. It gives the floor its visual identity while helping create a more forgiving, traction-friendly surface than a plain glossy coating.
06
Scrape, vacuum & clear topcoat
Once the broadcast is set, loose material is removed and the surface is prepared for a clear polyaspartic topcoat. The topcoat seals the flake, develops the finished feel, and protects the investment underneath.
TOPCOAT, EXPLAINED
Clear protection, not just extra shine.
Our topcoat completes the system. Polyaspartic clear coat is selected for a durable, UV-stable finish so the floor keeps its depth and stays easier to clean in real garages, shops and commercial spaces.